|
Index:
Creation
Customisation
It’s now time to deploy !
The script for deploying is called a Task Sequence.
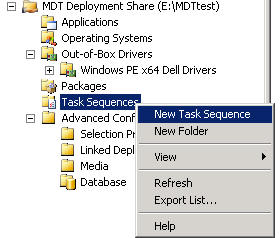
Right clic on Task Sequence and select New Task Sequence
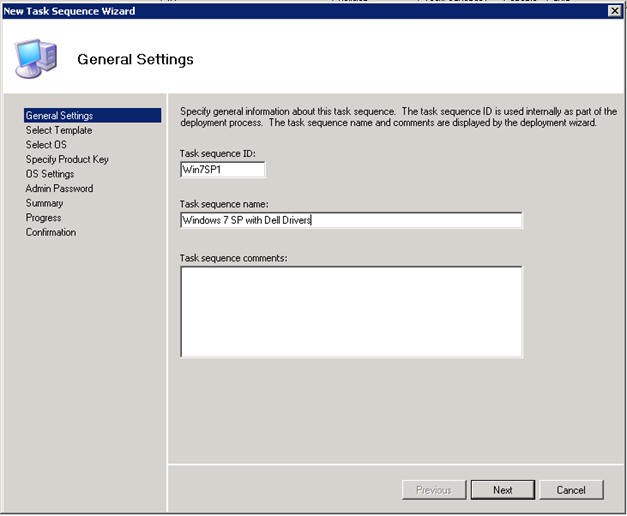
Define the sequenceID (which must be unique), the task
sequence name and add comments if you want :
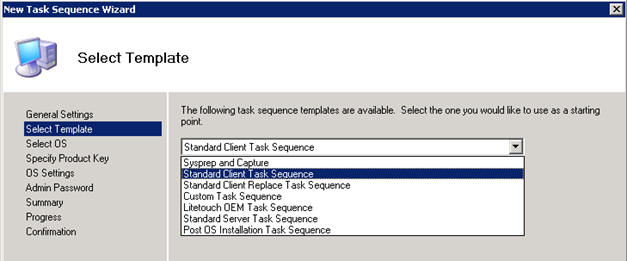
Then select
a Standard Client Task Sequence
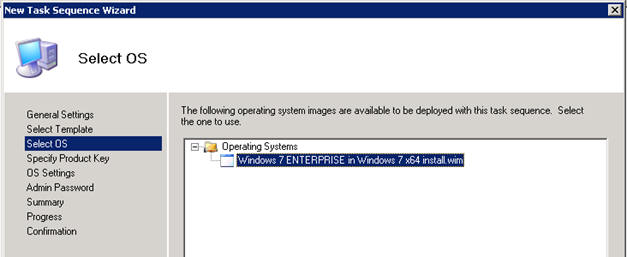
Select the OS you want to deploy :
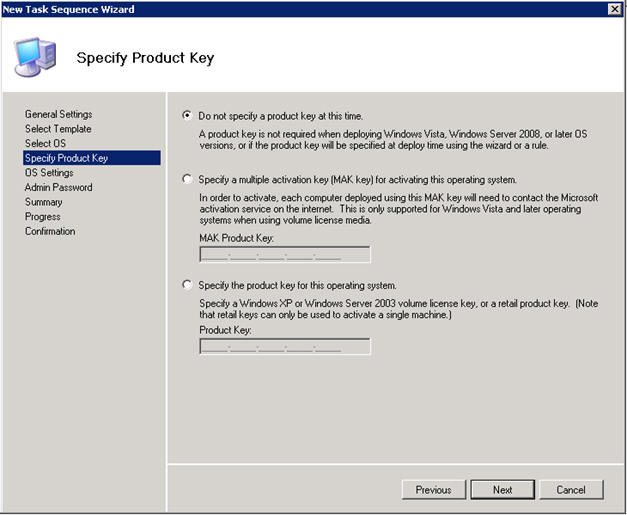
Select the product Key, if necessary :
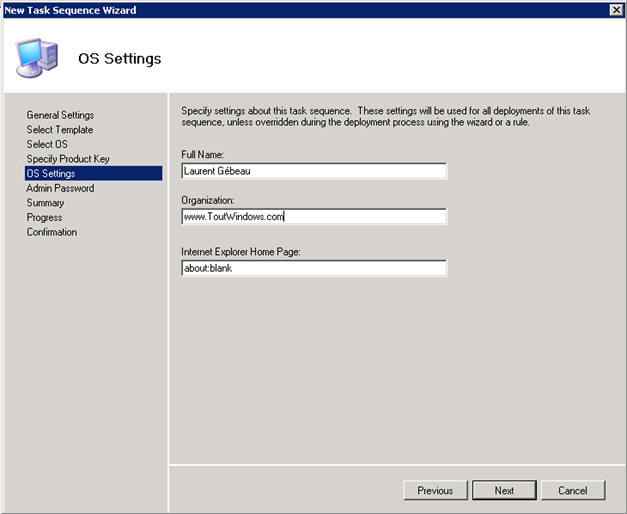
Define user name and organisation, then default IE home
page :
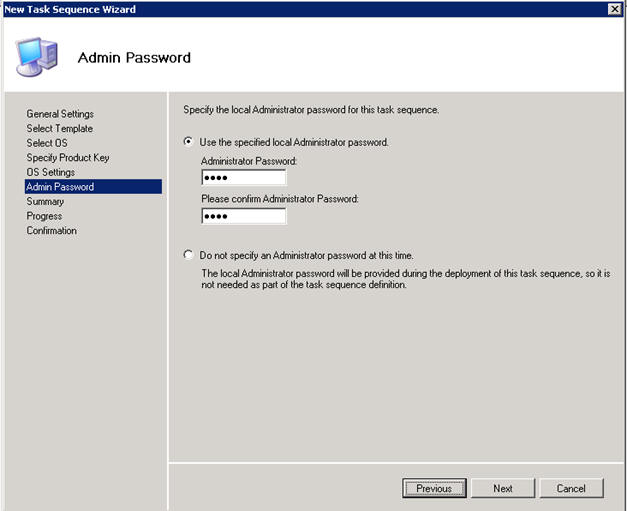
Define the default local admin password :
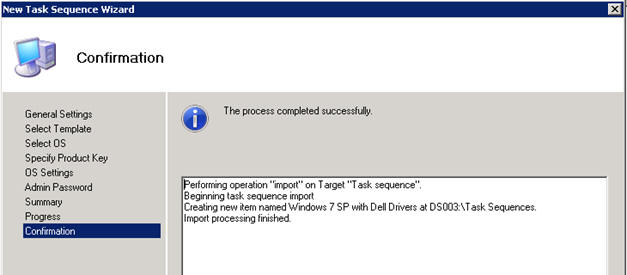
Then confirm the summary :
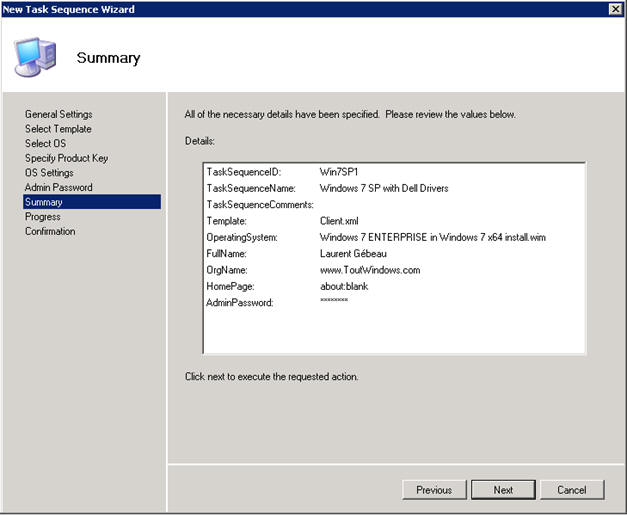
Done !
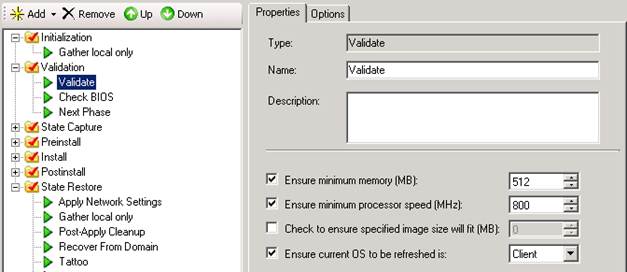
Let’s look deep inside, now:
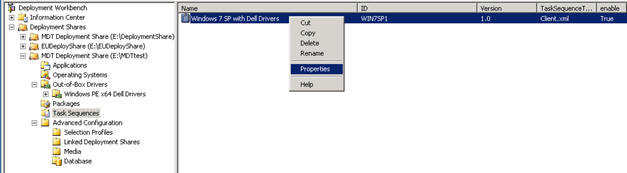
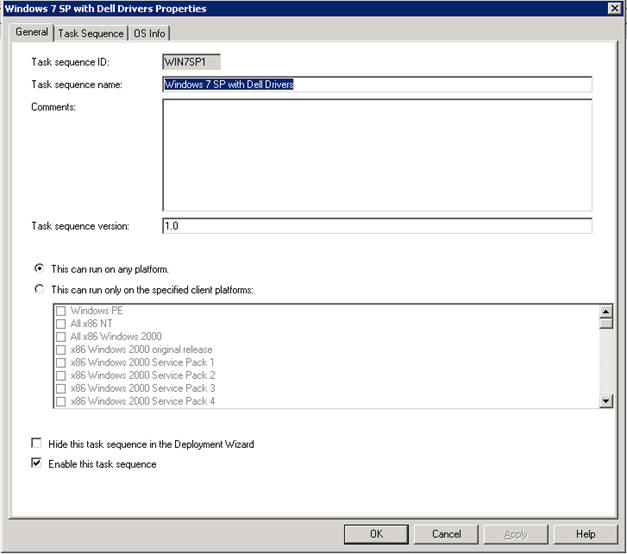
First tab show basic properties :
But the second tab show all the “magic” :
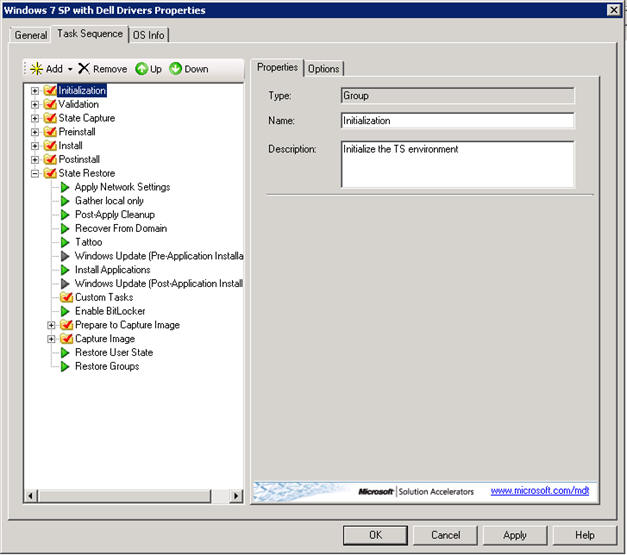
You can start to customize.
Customization of the
task sequence
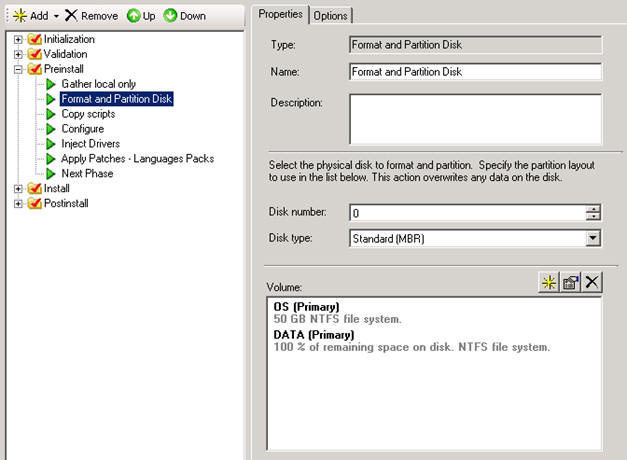
I won’t show all steps one by one, but here are the most
important to me :
For
example, here I create a C partition of a fixed size of
50 Gb, then a Data partition with the free space.
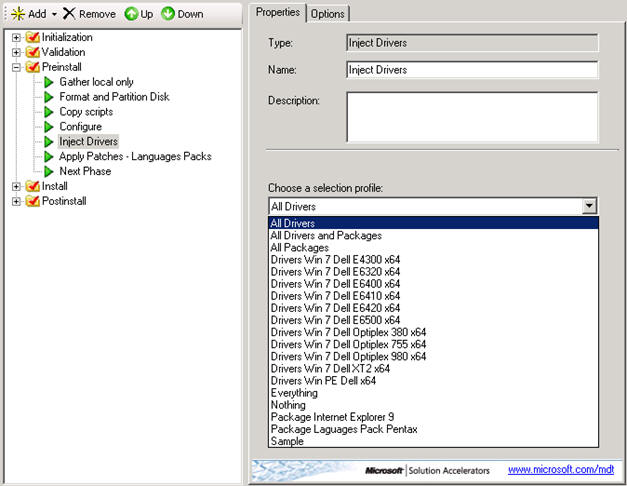
Never inject all drivers ! It will generate lot of
conflicts.
If you have only a few models of PC, you can create one
task per model. But the best way consist in creating one
folder and one selection profile per model, then update
the customsettings.ini file (in the properties of the
Deployment share):
Create a Settings section :
[Settings]
;auto select the filters for drivers
Priority=Model,Default
Properties=MyCustomProperty
Then one section per model, for exemple :
[Latitude E6410]
DriverSelectionProfile=Drivers Win 7 Dell E6410 x64
[Latitude E6420]
DriverSelectionProfile=Drivers Win 7 Dell E6420 x64
[Latitude XT2]
DriverSelectionProfile=Drivers Win 7 Dell XT2 x64
[OptiPlex 380]
DriverSelectionProfile=Drivers Win 7 Dell Optiplex 380
x64
[OptiPlex 755]
DriverSelectionProfile=Drivers Win 7 Dell Optiplex 755
x64
The
text after DriverSelectionProfile refer to a selection
profile.
The
Model variable is coming from an MDT string, who will
show the model given by the BIOS.
You
can predict the model string using the following script
:
Save
it as a vbs script :
strComputer = "."
Set objWMIService = GetObject("winmgmts:\\" &
strComputer & "\root\CIMV2")
Set colItems = objWMIService.ExecQuery("SELECT * FROM
Win32_ComputerSystem")
For Each objItem In colItems
WScript.Echo "In MDT Variable Make will be: " &
objItem.Manufacturer
WScript.Echo "In MDT Variable Model will be: " &
objItem.Model
Next
And
then run it.

The
Install Applications allow you to deploy Applications,
we’ll see it later.
|
